Midway Through Paint Job 2

November 9, 2010

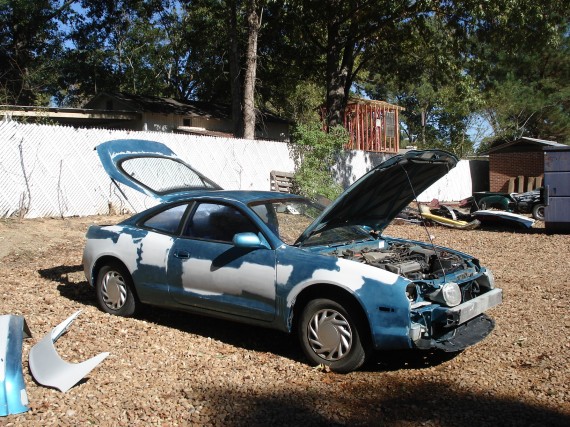
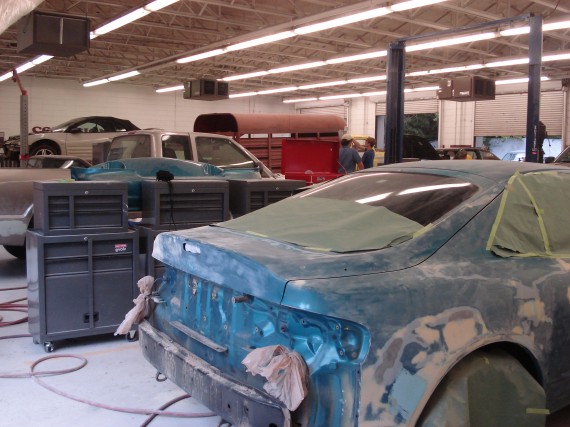
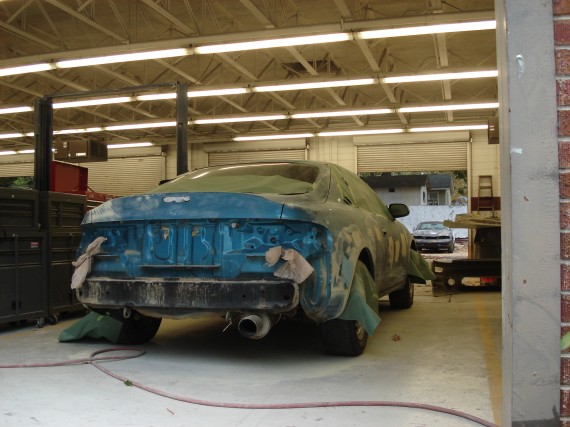
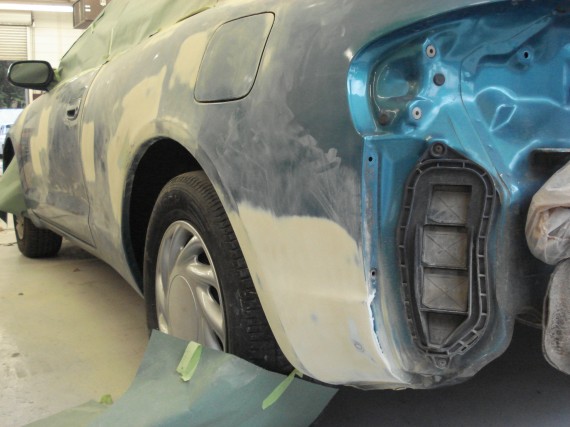
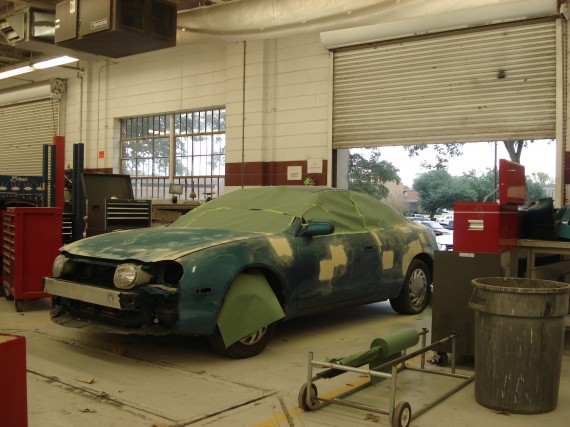
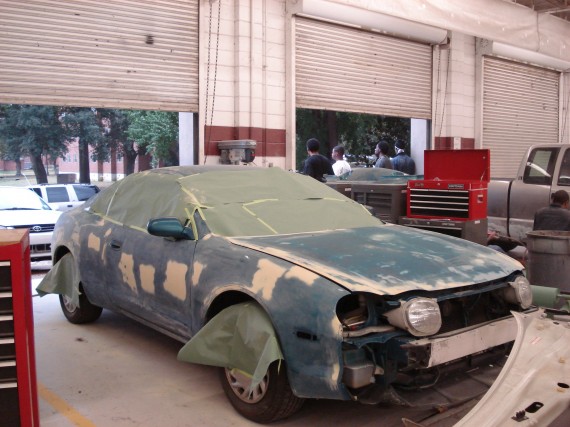
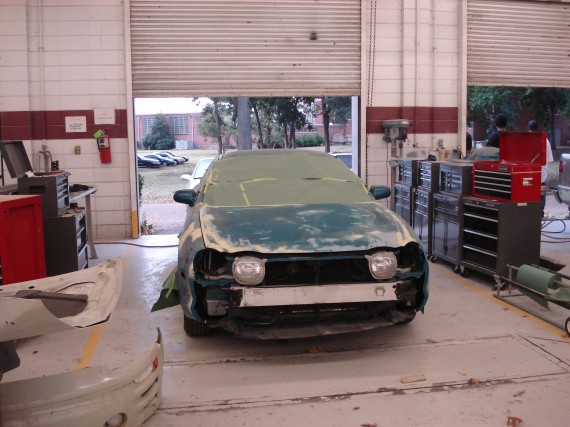
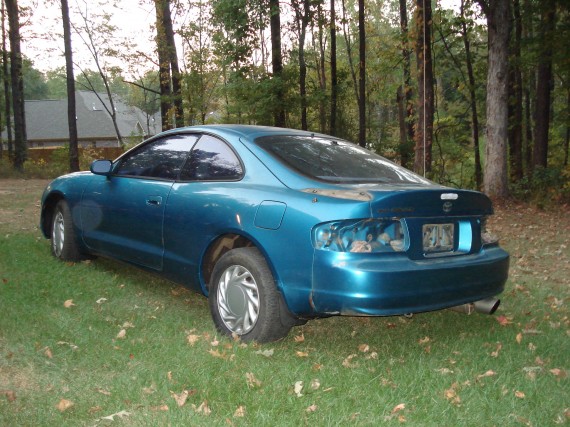
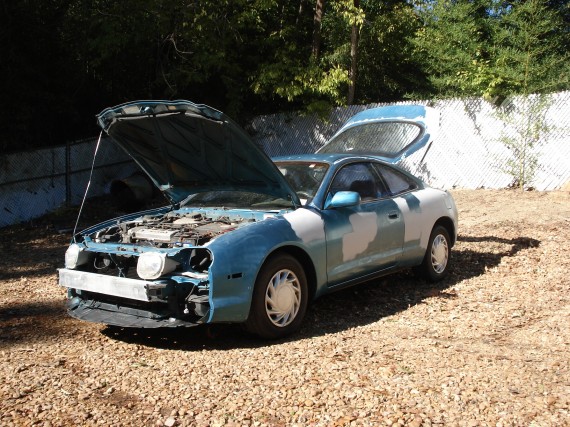
I took some more pictures today.  He had just finished washing it after a wet-sand.

He said they’d probably have it in the paint booth next week.

They look at fitting on the side-skirts, but they’re not a very good fit and would require a good bit of work and modification to fit on there.  I’ve looked around the web for some OEM side skirts (which I’d be happy with), but nothing is cheap.  I shall continue looking.  A junked Celica would be perfect if I could find one.

After Wet-Sand

After Wet-Sand

0

Midway Through Paint Job

October 26, 2010

This morning I went up to the college to check on the progress.  They are indeed making progress.  Well, I should say, “he” is making progress.  I met the student who is assigned the project.  We chatted for a few minutes.  He’s a very friendly guy and appears to be doing a good job.

Here are some pictures:

A view of some of the garage.

Rear.. Yeah I thought they were going to need to remove the rear bumper.

Bye-bye dents!

Front Driver

Front Passenger

Front

1

Pulled-A-Part

October 19, 2010

This past weekend we took a trip to Memphis, TN to visit some friends.  Saturday, on the way up there, I saw their Pull-A-Part while traveling on I-240.  “Hmm”, I wondered, “Do they have a 6th gen Celica?”.  We’d be departing Monday afternoon, so I thought I might have a chance to go by there that morning.  The Pull-A-Part here in Jackson doesn’t have a Celica.  I called this one’s automated number on Saturday night and they in fact had a ’93 and a ’95.  I’ve been hoping to find a junked GT with leather seats that were in restorable condition.  This was exciting!

Well, Monday morning came, and I then went.

I’d never been to a Pull-A-Part before and didn’t know how things work.  Apparently, you pay $1 to get to go in and out all day, and you have to bring your own tools.  I went in and found that the ’95 was on row 202.

On I walked to row 202.  I saw it from a slight distance.  Elevated upon some old rims welded together sat a white convertible  (“Ooo, necessarily a GT”).  And this surely meant leather seats!

I walked closer.

Smashed on the front-passenger side.  No problem.

No engine.  I don’t care.

Closer.. leather seats!

“Hmm”  Windows rolled down.  The rain has taken it’s toll.

“Eww”  The driver seat is weathered and cracked to shreds.  The back seats are yanked out of position, but could probably be bent back into shape.  No wait.. the convertible’s has a different back seat than my hatch back anyway.

“Oh well…”  So, what else could be used?

I circle the car several times and inspect what’s on the inside some more.

The two driver side headlights (hi and low beams) were not broken, as they were on the passenger side.  Mine both have rock pecks in them, allowing moisture in and causing the reflective insides to decay.  These will work nicely!

I look around, but see little else that can be used.  I did however pick off some of the retainer clips from interior pieces that I have lost over the years of disassembly and reassembly of my interior.

Borrowing some of my friends tools, I was going to properly remove the crashed bumper (why? who knows.  I just wanted to be neat about it.), but his socket set didn’t have a 10mm deep socket.  So I just ended up ripping the front bumper by hand and chiseling it a bit more with a flat head screwdriver.  This allowed me to get to the head light fixture bolts.  At this point though, I realized that the housing of the fixtures were both broken in some way.  So at least I’ll be able to use the glass lens and the guts after boiling them apart.

I leave satisfied.
0

Car Goes to College

October 12, 2010

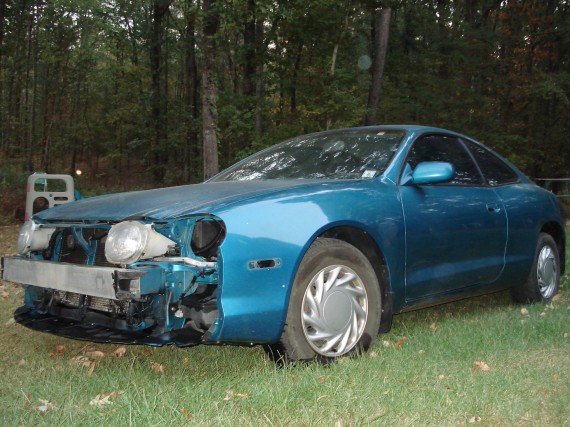
Well, today I dropped my car off at the local community college to be painted by inexperienced students yet overseen by an experienced instructor.   It was a strange feeling leaving it there for the next month or so.

I drove it there with no front bumper, no headlights, no wipers, nor any turn signals and no tail lights–ya know, all the stuff they all check at inspection.  I at least hung the center brake light out of its hole.  I had the wife and kids behind me in a van.  But, my biggest fear was being pulled over for having no lights.  Thankfully, I didn’t even see any cops on the way.  I saw like two on the way back though. 🙂

He said it would be done by just 2 or 3 students.  So, it’s not like the whole class is going to have their way with it.  I asked him if I should give the students a fruitcake or something for their trouble.  But he said that normally people just bring donuts in the morning for the whole class.  That’ll work, but I want to think of something more creative than that if I can.

Oh, and I showed him the side skirts.  He said it wouldn’t be a problem for them to half way fit one and then for me to come look at it.  So, I’ll get to see if I like them before going though with the whole thing.

My sister has loaned me her car for the month.  She lives in NYC and never took her car with her.  So, it’s available.  Thanks!

0

Paint Job Prep.

October 9, 2010

Below are some pictures of the disassembly in preparation for painting.  I’m having it painted by students at a community college.  I wasn’t quite sure I wanted them pulling and yanking on things to remove them, and further, the risk of leaving out clips and screws when putting things back together.  I have no idea whether they would be lax about this or not, but to avoid the risk I’ve done the disassembly myself.  The professor said it would be fine.

The biggest job (and it wasn’t that big) was to remove the front bumper.  The tutorial here was an excellent source of confidence.  Many thanks to the guys that created it.  A friend of mine helped me do it last night.

The main reason for taking the bumper off is that it’s the only way to remove the headlight fixtures.  An issue I’ve had just about as long as I’ve had the car was that the rubber trim around the low-beams was no longer glued to the fixture.  It wouldn’t fall out, but it also didn’t quite stay in place.  I imagine that this is a common problem.

The only feasible way to repair that is to remove all dirt and such from the perimeter of the headlight and glue around the fixture again again.  I also wanted to fill a couple of rock pecks in the driver side low and high beam lenses, but I found that I can’t easily separate the lens from the fixture without breaking a seal.  So, I may just try to fix them from the outside if I do anything at all.

Also, the professor at the college said it might even make it easier to work on the bumper if it were removed.  So, I’m going to have it in sitting in the back when I drive it in.

Additionally, I’ve removed:

  • projector fog lights (my own addition)
  • front reflector lights
  • front and rear windshield wipers
  • cowl
  • tail lights
  • center brake light
  • antenna
  • spoiler
  • Toyota emblems

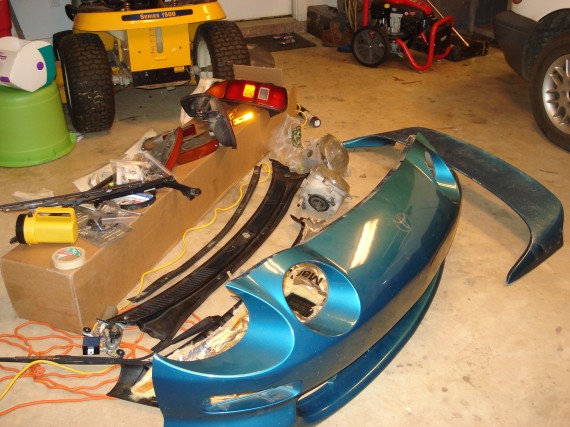
The front bumper removed

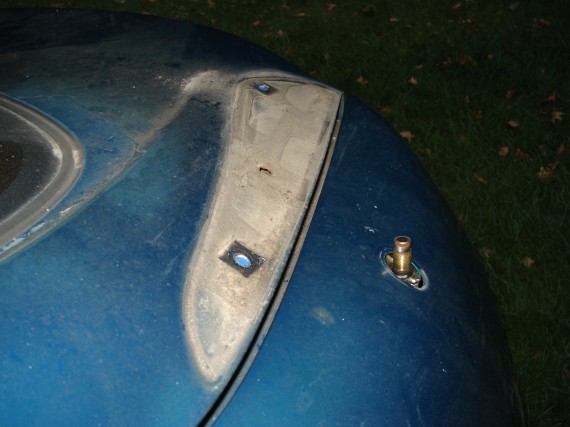
No tail lights. The rear Toyota emblem is gone; it's just the glue left behind that's visible. And I've stuffed a white plastic bag where the middle brake light goes.

Yep, dirt under the spoiler

All the removed stuff for paint prep.

Oh, and that long cardboard box contains some raw fiberglass side skirts.  The college professor said it wouldn’t be a problem for them to trim, mount and paint those.

Not in these pictures, but I also went ahead and pressure washed the gunk away that they’d have to clean off anyway.

cowl
0

Before…

September 25, 2010

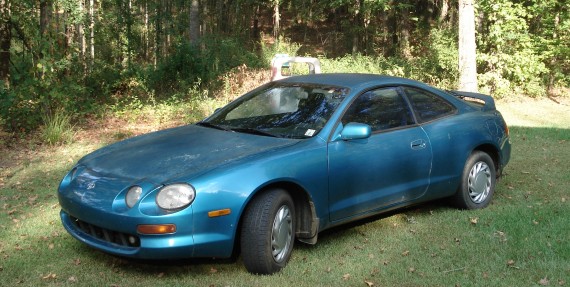
Some shots before any work has begun:

On the outside…

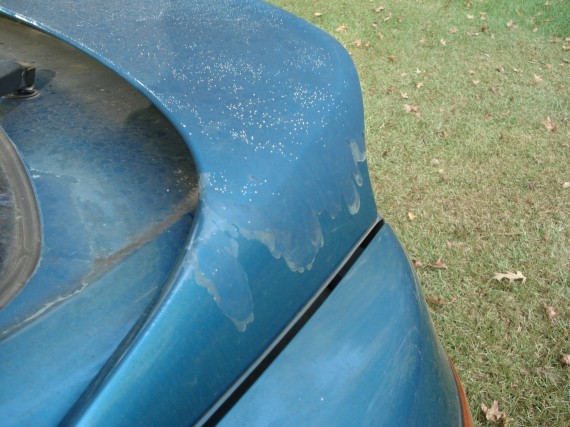
Not a bad pose. But take a close look: grime in the wheel wells, clear-coat is gone on the hood and roof.

The clear-coat is shot on the spoiler. Plus the caked on grime.

Notice the dents in the rear driver-side fender.

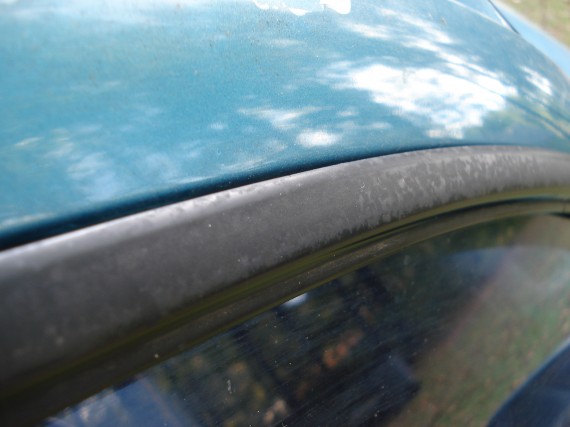
The rubber is dirty and oxidized.

And on the inside…

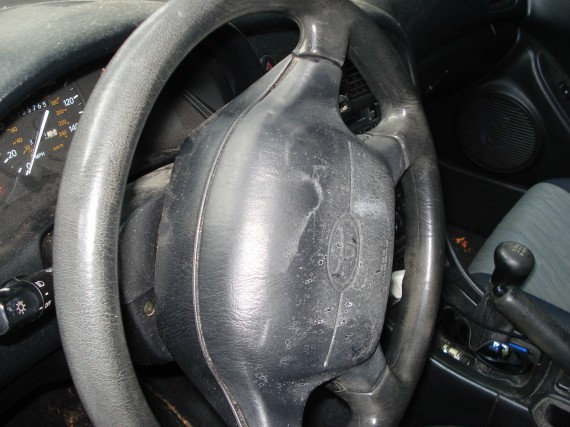
The steering wheel has Armor All residue and the dash is caked with dust.

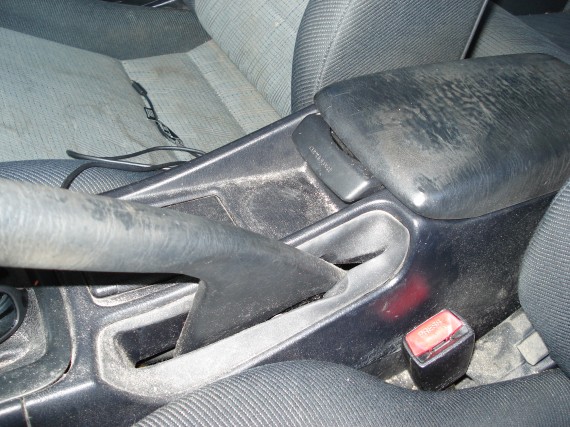
Yuk.. Just grime and filth

0

The Plan…

September 25, 2010

Here’s a tentative list of things I would like to do.  Some items are more likely than others depending on whether I can find a part supply and cost.  I’m really trying to do this for not much money (most of the cost coming from the needed windshield replacement, struts replacement, and new rims/tires) , but we’ll see.

Outside:

  • Repair dings/dents and repaint (same color)
  • Install side skirts
  • Fix loose gaskets around headlights
  • Revitalize exterior rubber trim
  • Clean grime from wheel wheels and just make everything black again that is supposed to be black
  • Replace the original OEM wheels with silver Ace Manta rims.  The originals are bent and therefore out-of-balance from the horrible Jackson, MS roads.
  • Get engine detailed (do they do that?)

Inside:

  • Clean interior / Steam clean fabric
  • Remove/Redo old tint on windows
  • Replace rotten shifter boot
  • Replace worn shifter knob
  • Find leather seats from junked Celica

Overdue Repairs:

  • Replace cracked windshield
  • Replace the original factory struts (they have never been changed and today sound like I’m carrying around a load of bricks in the rear)
  • Replace tires (rears are balding)
  • Fix intermittent automatic window failure
  • Fix reverse lights
  • Replace hatch-back lifts (again)
  • Change manual transmission gear oil
  • Fix rear wiper fluid dispenser
  • Replace original audio deck (The CD player barely works anymore just due to age.)
0

External Rebirth

September 25, 2010

Greetings!  I’ve decided to start my first blog which will be used to document my efforts of revitalizing the exterior and interior of my 1994 Toyota Celica ST.

A bit of history…

In high school I had inherited my older sister’s 1979 Celica when she got a new car for high school graduation.  It had already started to die out mechanically when I received it, but we kept it going for a while.  In 1995, near the end of my senior year, my parents bought me this 1994 Celica ST basically as a graduation present.  I may have contributed a little, but I don’t remember.  Looking back, I am very thankful that I was not strapped financially buying a car all by myself.  We got it about 1-year used from Grey Daniel’s Ford in Jackson, Mississippi.  It had around 37,000 miles on it.  I remember thinking that that seemed pretty high, but I wanted to call the previous owner anyway to ask about its brief history.  The lady that had owned it was a home health nurse.  So she was driving all around the area from house to house which explained the high mileage.  I also asked her why she was getting rid of it, and she told me she just needed something larger.  Fair enough; so we bought it almost on the spot.  We had been looking around for Celicas for a few weeks, and this one seemed like the best deal.

For the first few years, I was pretty dedicated to keep it clean and pristine.  Washing it was something to “do” on the weekends (though I might have over-washed it).

Later came marriage.. and children after that.  We started building a house in 2003.  And, ahem, I sorta used my hatch-back conveniently as a truck bed.  Looking back, I should have just found an old truck to haul stuff in.  With changing priorities and needs, I kinda just let me car “go” (inside and out), from an up-keep standpoint.  But, of course, any factory paint jobs will break down after spending years in the baking sun of this fallen world.

However, circumstances are such right now that I have an opportunity to put forth a little bit of effort and money to revitalize my poor-ole-neglected, but yet-still-trusty Celica.  I drive this thing 30 miles  to work and back everyday, so it’d be nice to do it in a cleaned up vehicle.

It now has around 206,000 miles.   I’ve had almost zero trouble from it, and it has never left me stranded.  I’m not normally very sentimental, but at this point it has a bit of that kind of value to me.  I’m basically committed to driving it until the wheels fall off.  After that I’ll probably put them back on and drive it some more though.  After all, unlike many people, I own my car.  I figure that if I put just a few hundred dollars into it each year on average, then I come out much better than having bought a new one.  I think I’ll probably be buried in that car.  (j/k)

Anyway, doing a project like this I hope will be satisfying and fun.  Admittedly, this is not a project anywhere near the size of some others’ you hear about.  (I once saw a post by a guy who cut the front-half of his Celica off and replaced it with another one!) I am not doing a complete strip-down and rebuild.  No significant engine work is planned.  I’m comfortable with its limited horse power for now.  (The benefit being that I still get ~30 MPG as I have since I bought it in 1995 with very little upkeep).   I’m simply trying to make the exterior and interior pleasing to the eye once again.

I plan to put some useful links to the side where I found help or a supply of parts.

0